Jupyter Notebook Installation
1/ Pre-installation
- Python downloaded on windows

https://www.python.org/downloads/ Click 'Or get the standalone installer for Python 3.14.7'
- Visual Studio Code (VS Code).
2/ Essential Extensions
- to use jupyter notebook right inside VS Code, you must download these extensions below
- Open VS Code -> click on Extensions on the left
- Install extensions: Python (Microsoft). Then Jupyter (also Microsoft).


3/ Create and open Jupyter Notebook file
- create a file: File > New File....
- save a file with
.ipynbformat. (e.g, test.ipynb)
4/ Selecting Kernel
- before running codes, you have to tell jupyter which python version to run on.
- on the right side of the file, click on Select Kernel
- select Jupyter Kernel... -> Python Environments....
- select the python version u installed (e.g, 3.14.7)
5/ Managing cells
- adding cell: move ur cursor between the 2 cells and click on '+ Code' or '+ Markdown'.
- moving cell: hold ur cursor at the edge of the cell on the left of it and move it up or down
- deleting/merging cell: click on the bin icon or the move up move down to the right of that cells
6/ Basics
- Ctrl + Enter: run the selected cell
- Shift + Enter: run the selected cell and automatically move ur selected cell to the cell right below
- Alt + Enter: run the selected cell and automatically generate a new code cell right below that cell
- or run it manually by clicking 'play'
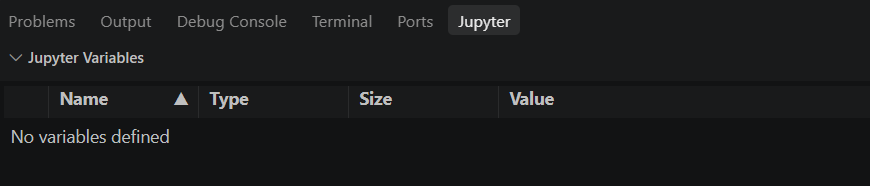
7/ Variable Explorer
- 1 of the very powerful points jupyter have is that it can track the variables, no matter where that variables is called
- click on Variables